Shopify Product Page Customization: The Complete Guide to Boosting Conversions
Written by Marie Lamonde
July 15th, 2026
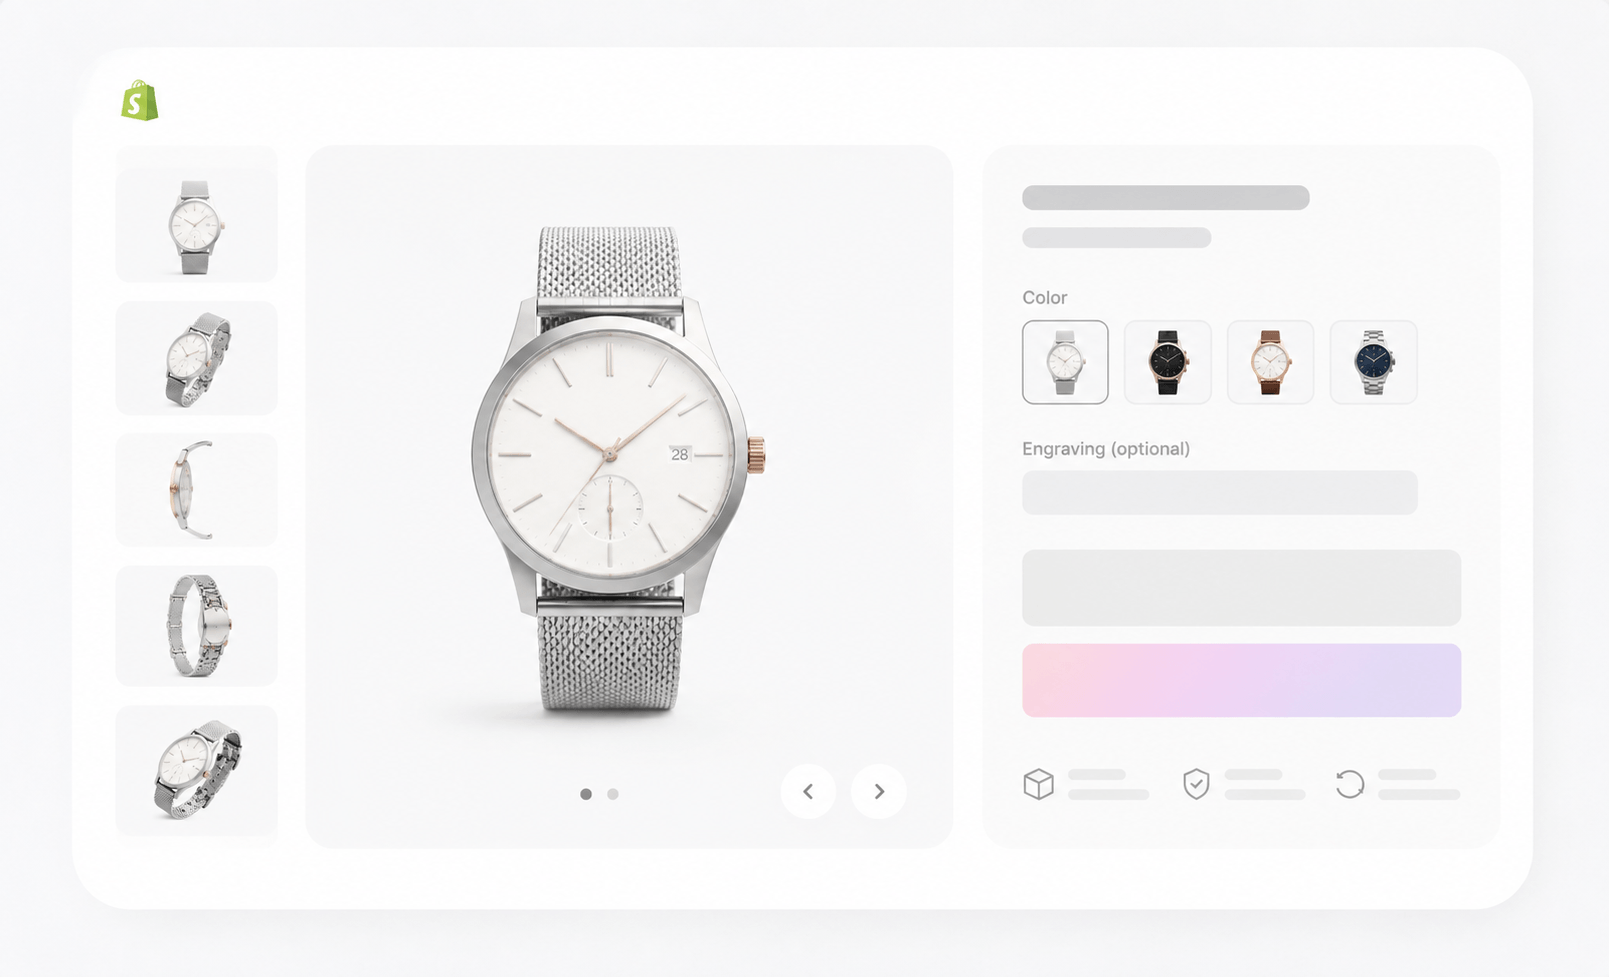
Table Of Contents
Your product page is the most important real estate in your entire store. Not your homepage. Not your collection pages. The product detail page, or PDP, is where purchase decisions are made, where brand trust is either earned or lost, and where the gap between a thriving DTC brand and a struggling one becomes painfully visible. Yet the vast majority of Shopify merchants are still running near-identical layouts, relying on the same default templates, and wondering why their traffic isn't converting.
Shopify product page customization is not a cosmetic exercise. It is a direct, measurable lever on your revenue. Treating this page as a static brochure is the fastest way to leave money on the table. This guide walks you through every method available: from zero-code theme editor adjustments to advanced interactive configurators: so you can build product pages that match how your customers actually make decisions.
1. Introduction to Shopify Product Page Customization
1.1 The Crucial Role of PDPs in E-Commerce Conversion
Most merchants obsess over their homepage design, their ad creative, or their email sequences. Meanwhile, the page that actually closes the sale gets the least attention. This is a costly misalignment.
Product detail pages convert traffic at a rate 4 to 10 times higher than collection pages. A customer browsing a collection is still in discovery mode. A customer on your PDP is one well-placed piece of information away from clicking "Add to Cart." That distinction changes everything about how you should invest your design and development resources.
Standard, out-of-the-box Shopify templates were built for the median product: a simple SKU with a handful of variants and a short description. They were not built for premium goods, complex configurations, or high-ticket items where the customer needs to be educated, reassured, and inspired before they commit. When your template fails to communicate your product's value, the result is a high bounce rate, low time-on-page, and abandoned carts that no retargeting campaign can fully recover.
Strategic customization addresses this directly. By aligning your PDP layout with the specific way your customers evaluate and decide, you remove friction from the purchase journey and give your conversion rate optimization efforts a foundation that actually holds. The average Shopify product page conversion rate sits at 3.5%, while top-quartile performers consistently achieve 5% to 8%. That gap is almost entirely explained by the quality of the product page experience: not the product itself.
1.2 Visual Dominance and Consumer Psychology on the PDP
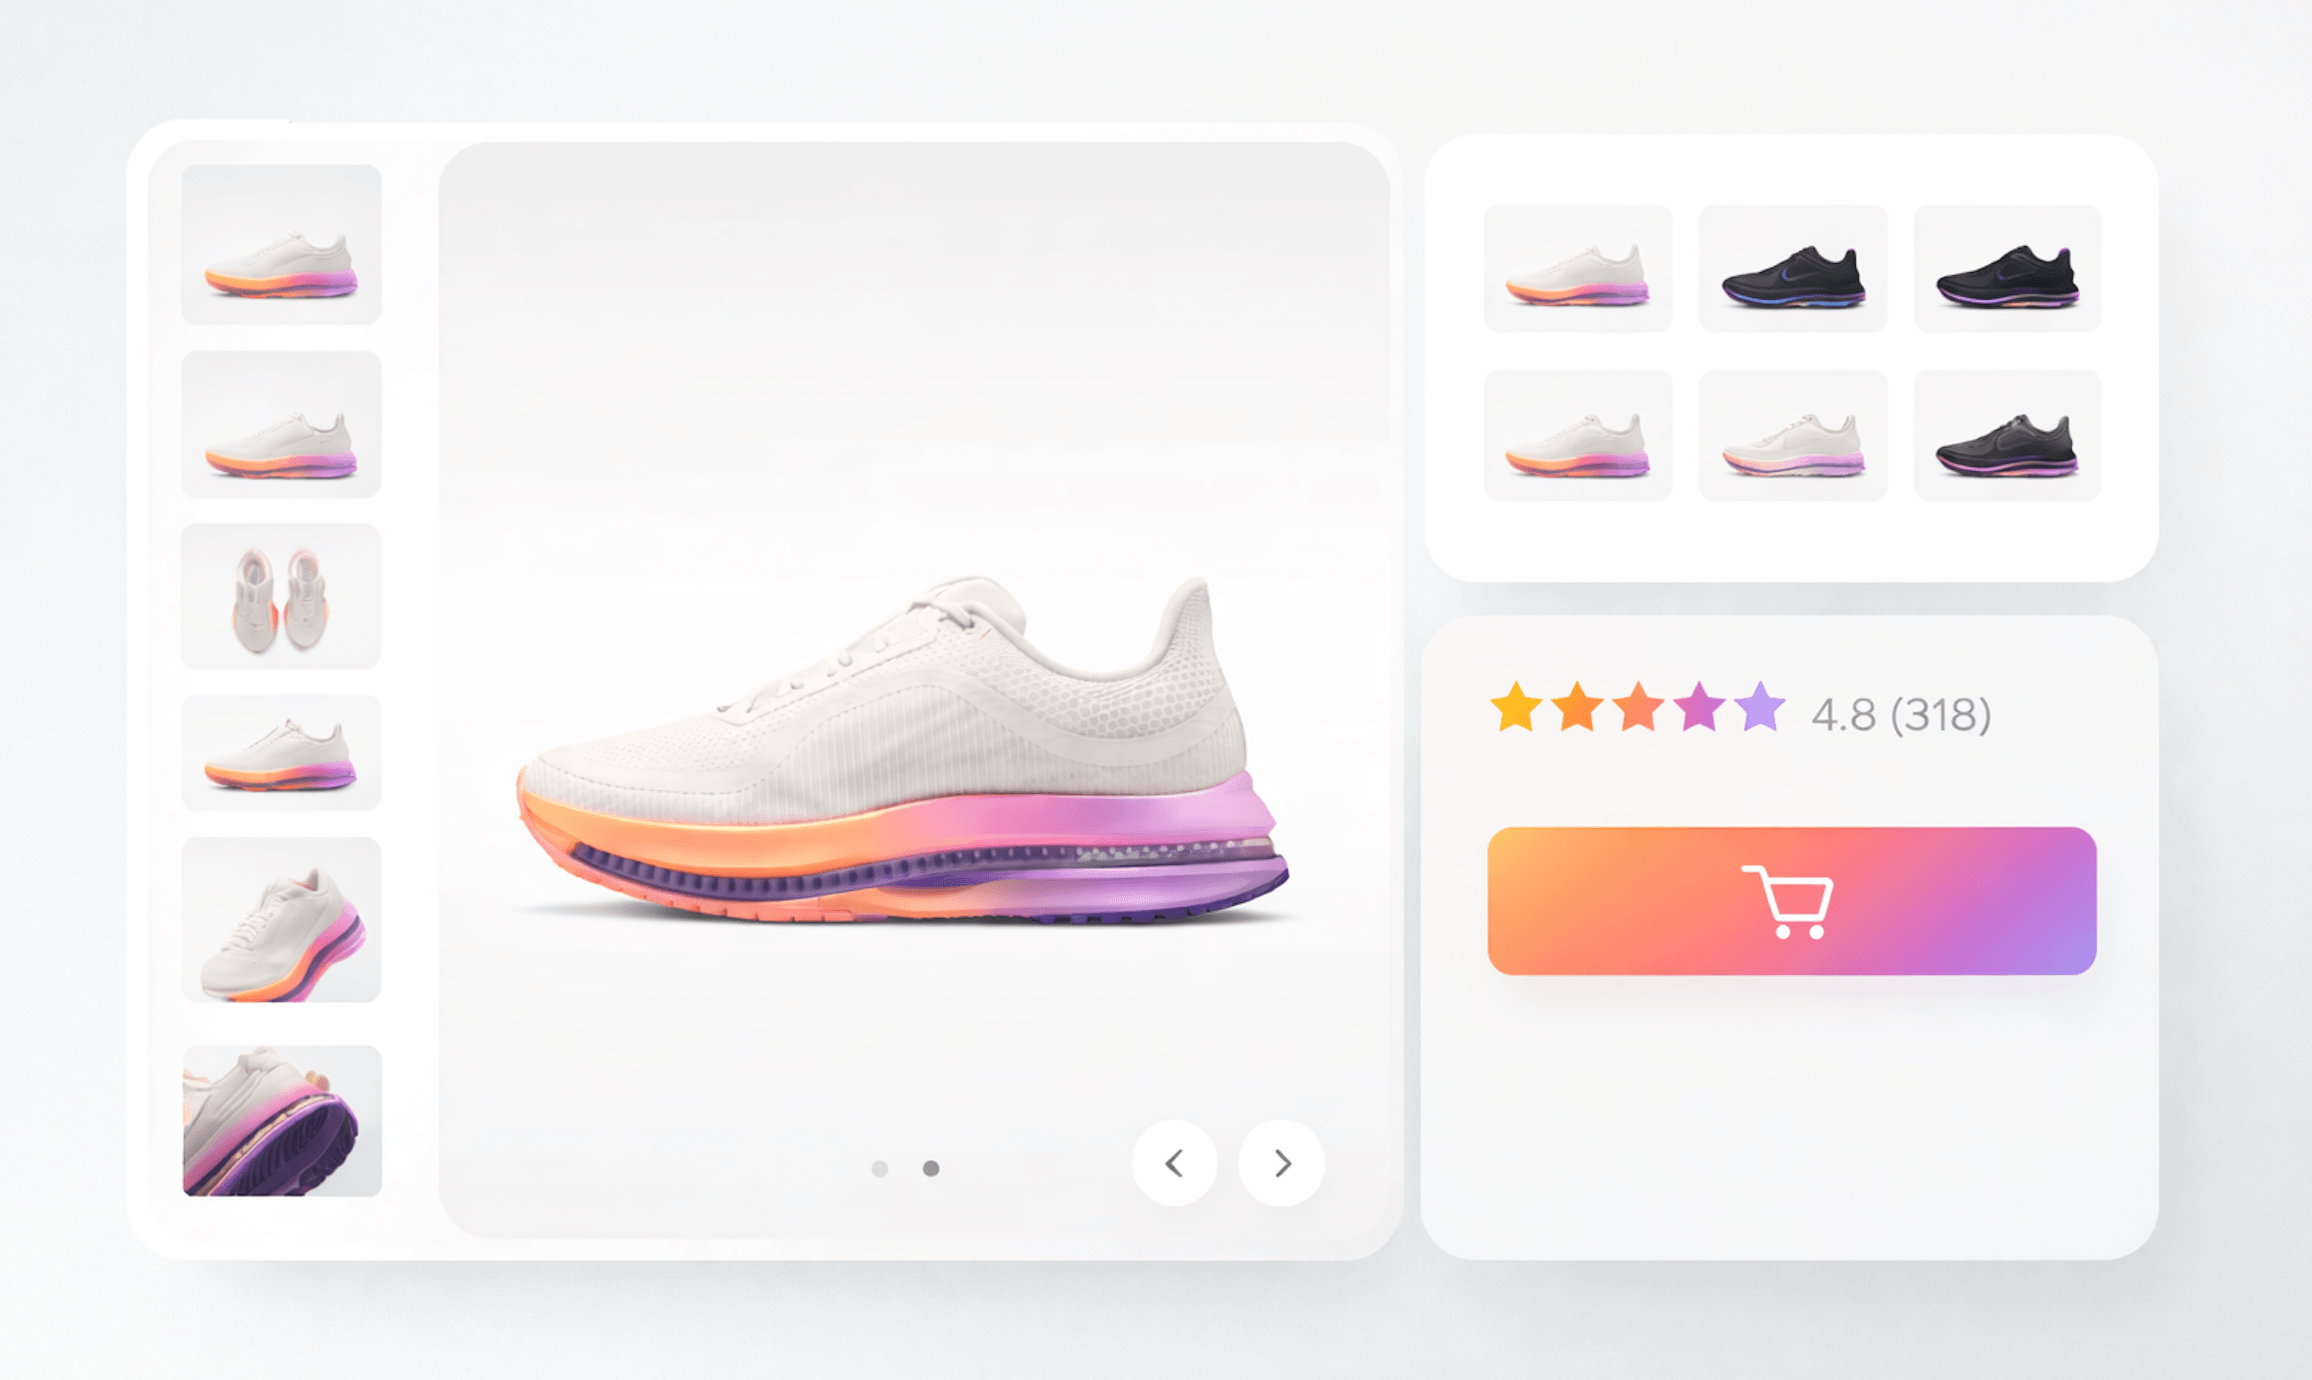
Before a single word of your product description is read, your imagery has already made its case. Industry research consistently shows that 67% to 74% of online shoppers evaluate product imagery before reading any written descriptions. Visual hierarchy isn't a design preference; it reflects how the human brain processes information during low-commitment browsing.
The implications for your product page are significant. Listings with five or more high-quality images convert up to 50% higher than those with few visual assets. Shopify merchants using 3D visual content on their product pages report up to a 94% higher conversion rate compared to static image-only pages. These aren't marginal improvements; they represent the difference between a growing store and one that stagnates.
Visual friction—blurry images, inconsistent lighting, missing lifestyle context, or a gallery requiring users to click through tiny thumbnails—creates immediate buyer hesitation. That hesitation is almost never recovered. A high-quality visual experience, on the other hand, builds instant confidence. It signals that your brand takes its products seriously, and by extension, its customers.
This is why understanding product page design best practices is essential for brands competing in mature markets. The visual layer of your PDP is your highest-leverage investment in consumer behavior.
1.3 The Financial Impact of Product Personalization
Customization is not just a feature; it's a revenue strategy. The data is clear: product personalization options increase B2C average order value by 15% to 35%. When customers configure a product to their exact specifications, they invest in an outcome, not just an item. That psychological shift commands a premium price point, and customers pay it willingly.
The return rate argument is equally compelling. Interactive customization tools reduce product return rates by 15% to 40%. When a customer actively designs their product and sees a real-time visual preview of what they will receive, the gap between expectation and reality disappears. Buyer's remorse drops, chargebacks decrease, and customer service tickets shrink.
For DTC founders and e-commerce managers, this reframes the conversation around personalization on Shopify. It's not a nice-to-have feature for boutique brands; it's a core revenue driver with a measurable, defensible ROI. The question isn't whether to offer personalization, but how to implement it without introducing operational complexity or sacrificing page performance.
2. How to Customize a Product Page on Shopify
2.1 Accessing the Shopify Theme Editor (Online Store 2.0)
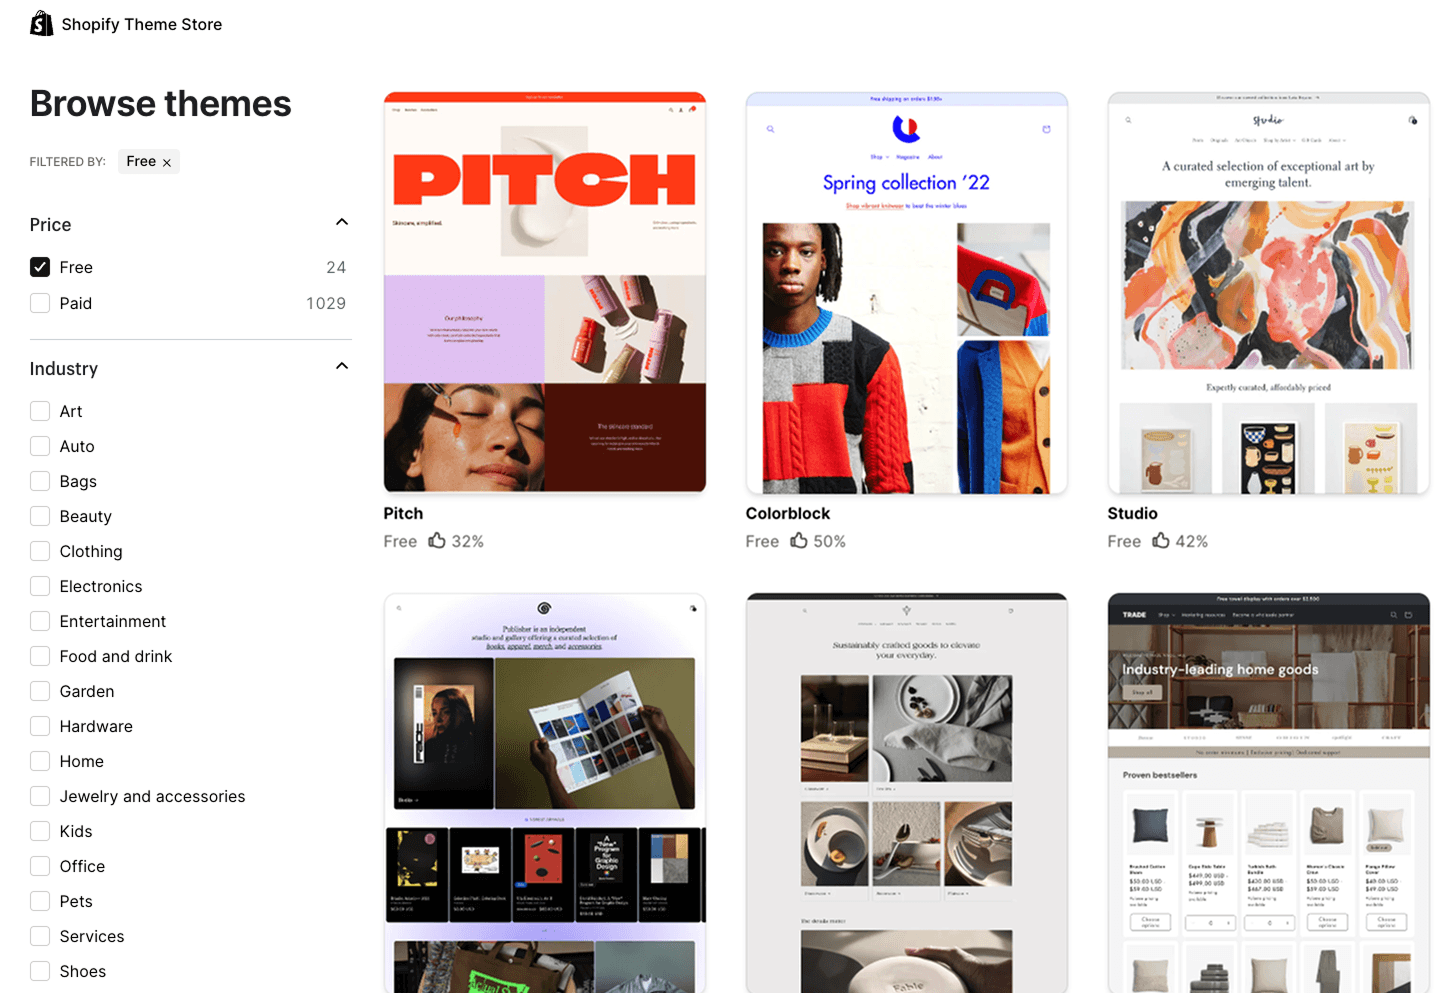
Want to increase revenue with customizable products? The easiest way to start customizing your Shopify product page is with the built-in Theme Editor, part of the Online Store 2.0 update. You don't need any coding skills to use it, and it gives merchants control over their product page layout.
To customize your product page using the Theme Editor, follow these steps:
Log in to your Shopify Admin and go to Online Store > Themes.
Click Customize on your current theme to open the visual editor. For more on general theme changes, see the Shopify Theme Customization Guide.
Use the top dropdown menu to select Products > Default product to load the default product template.
In the left sidebar, you'll see a list of sections and blocks: title, price, variant selectors, buy buttons, and description. Drag and drop any block to change its position on the page.
To add a new element, click Add block at the bottom of the sidebar and select from options like collapsible rows, custom text, or image blocks.
To show unique content for specific products without making new templates, set up Metafields as described in Section 2.2.
Click Save to make your changes live.
Online Store 2.0's drag-and-drop interface lets you rearrange your entire product page layout quickly. You can move the price nearer the buy button, place the description lower down, or add a trust badge block right under the call to action—all without writing any code. Selecting the best Shopify themes for custom products beforehand also matters, as theme quality affects how much you can customize within the editor.
2.2 Leveraging Metafields for Dynamic Content
Shopify's default product template offers a uniform layout, applying the same fields, structure, and information hierarchy to every product. This works for a consistent catalog, but it's limiting for diverse offerings. Consider a leather jacket needing a care guide, a bicycle requiring a geometry chart, or a supplement with a nutritional panel – a single template can't accommodate these varied needs effectively.
Metafields provide an elegant solution. They enable you to define custom data fields for products and display them dynamically on the product page. This eliminates the need for numerous individual templates or custom coding.
Here's the setup process:
In your Shopify Admin, navigate to Settings > Custom Data > Products.
Click Add definition, then name your field (e.g., "Sizing Chart," "Material Care," or "Technical Specifications").
Select the appropriate content type: text, file, URL, or rich text.
Go to a specific product in your catalog and enter the metafield data for it.
Open the Theme Editor, choose your product template, and add a text or collapsible row block to the layout. For detailed guidance, consult the Shopify Help Center Templates Documentation.
Click the Connect Dynamic Source icon (resembling a small database) on the block and choose your new metafield.
This setup ensures that the block dynamically displays the unique metafield content for each product. If a product lacks specific metafield data, the block will remain empty, maintaining clean layouts and consistent page design without broken elements or placeholder text. This method efficiently handles product-specific information at scale, simplifying catalog management and template maintenance. Metafields work well for basic custom data. But structured, multi-dimensional data presents a different challenge. Consider a furniture brand needing to display a designer's profile, including their name, biography, portrait, and portfolio link. Or a supplement company requiring a full ingredient list with details on dosage, sourcing, and certifications for each component. A single text field can't adequately manage this complexity.
Metaobjects address this need. They enable you to establish a flexible data schema—a custom content type—and then generate specific entries that adhere to this structure. Each entry can incorporate multiple fields of varying types.
To implement Metaobjects on your product pages:
Navigate to Settings > Custom Data > Metaobjects and select Add definition.
Define the fields for your Metaobject. For instance, a "Designer Profile" might include a text field for the name, a rich text field for the biography, and an image field for the portrait.
Generate individual Metaobject entries for each designer or ingredient set.
Establish a Metafield on your Products that links to the Metaobject type.
Associate the appropriate Metaobject entry with each product.
Within the Theme Editor, employ a custom Liquid block to present the Metaobject data according to your preferred layout.
This approach offers substantial administrative benefits. If a designer updates their biography or a supplier modifies a certification, you only need to alter the single Metaobject entry. This update will then automatically reflect on all product pages referencing it. You can also explore creating a Shopify template for custom products to complement your Metaobject data for a completely customized product detail page experience.
3. Advanced Customization
3.1 Using Custom Liquid and Custom CSS
When the native block options in the Theme Editor aren't enough, turn to the low-code layer: Custom Liquid and Custom CSS. These tools provide significant design control without altering your core theme files. This means your customizations will persist through theme updates and remain simple to manage.
Custom CSS is accessible at both the section and block levels in most current Shopify themes. Use it for specific visual tweaks:
Modify the background color or border radius of your "Add to Cart" button to improve visual contrast.
Reduce the space between the product title and price to minimize visual clutter.
Introduce a subtle hover animation to product image thumbnails.
Apply a custom font weight or letter spacing to the product title to align with your brand.
Custom Liquid is a block type within the Theme Editor that lets you insert HTML and Shopify's Liquid templating language directly into your page layout. This is the appropriate tool for adding dynamic logic without modifying the main theme files:
A live shipping countdown timer (e.g., "Order within 3 hours for same-day dispatch").
Trust badges that appear conditionally, only when inventory is low.
A custom "You May Also Need" component that displays related products based on tags.
Dynamic messages that adapt to the selected variant (e.g., a lead time warning for made-to-order variants).
This combined method—native blocks for structure, Custom Liquid for logic, and Custom CSS for appearance—maintains theme upgradeability while enabling a level of design detail beyond any default template.
3.2 Editing Shopify Theme Code Directly
For advanced users who need full control over the product page layout, directly editing theme code offers the most power. It's also the riskiest approach if handled carelessly.
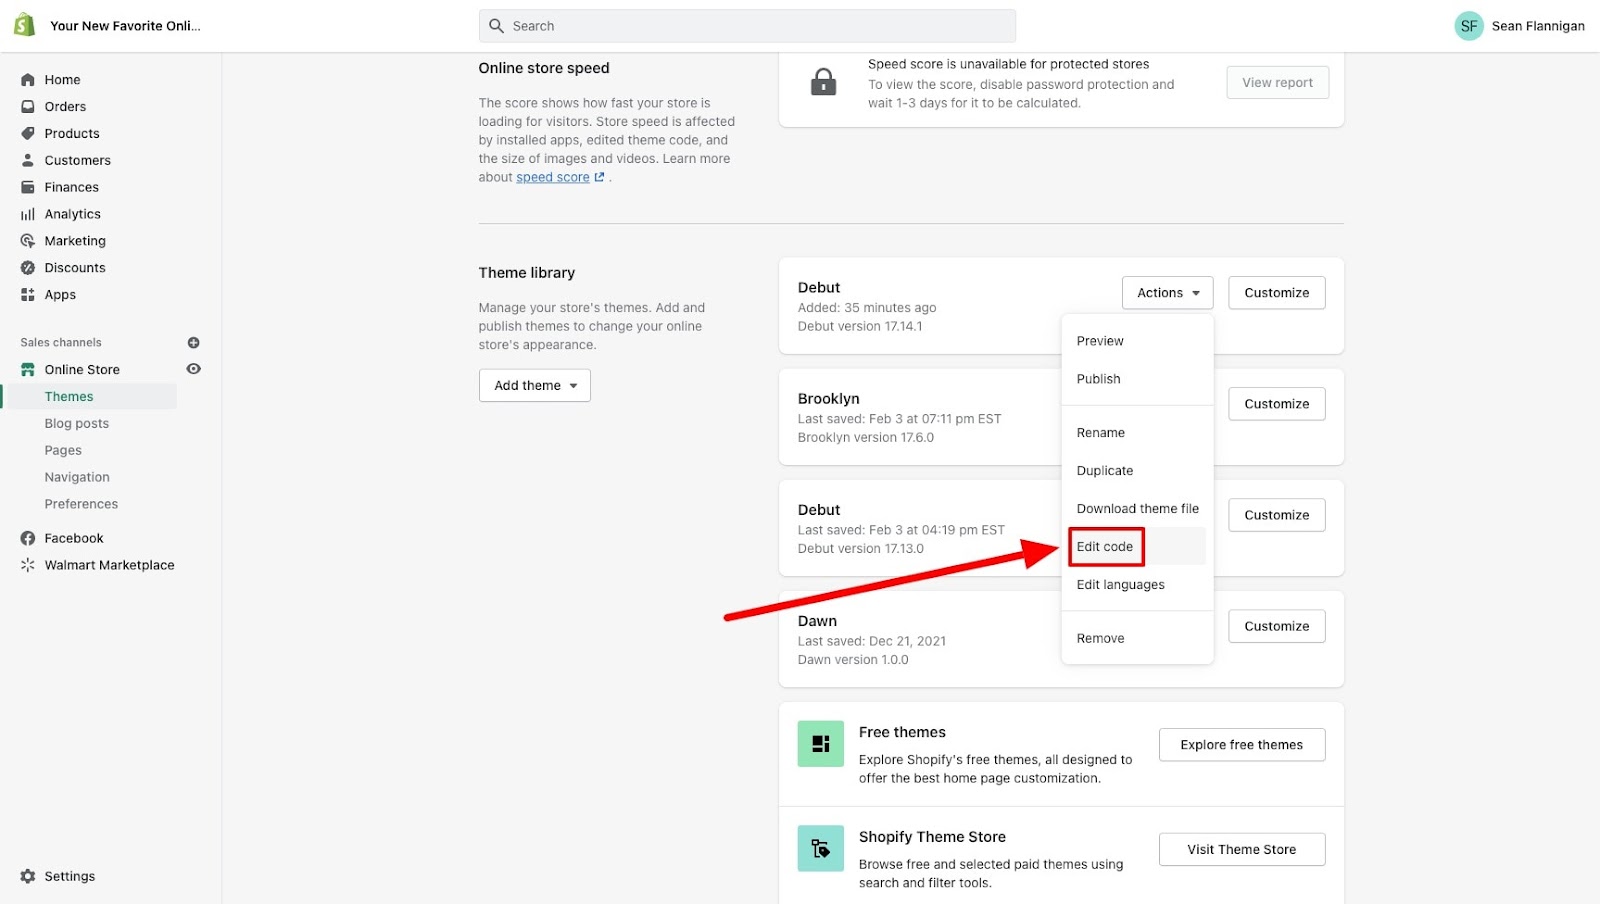
To access the theme code editor, navigate to Online Store > Themes, click the three-dot menu on your active theme, and select Actions > Edit Code. The core file you will work with is main-product.liquid (or its equivalent in your theme), which controls the fundamental structure of the product detail page.
Before making any direct code changes, always create a theme duplicate. Go to your Themes page, click the three-dot menu, and select Duplicate. This creates a versioned backup of your theme that you can restore instantly if something breaks. Never edit your live theme directly without this safety net.
When editing theme code, keep the following principles in mind:
Isolate your changes. Add custom code in clearly commented blocks so you can identify and remove your modifications if a future theme update conflicts with them.
Avoid modifying shared snippets. Changes to files like product-card.liquid or cart-drawer.liquid will affect multiple pages across your store, not just the product detail page.
Test on a development theme first. Use your duplicated theme as a staging environment before pushing changes to the live store.
Document everything. Maintain a simple changelog noting what you changed, why, and when. This is invaluable when onboarding a new developer or troubleshooting after a theme update.
Future-proofing your code modifications requires discipline, but it is far less expensive than rebuilding a broken store from scratch.
3.3 The Great Debate: Custom Code vs. App Dependency
Every Shopify merchant eventually confronts this decision: build it with code, or install an app? Both sides have legitimate arguments, and the right answer depends on your goals.
The App-First Camp argues that SaaS applications reduce time-to-market dramatically. Instead of spending weeks building a review widget or a subscription billing system, you install a vetted app in minutes and transfer the maintenance burden to a dedicated development team. This argument is hard to refute for regulated or high-churn features: GDPR-compliant cookie consent, subscription billing, or fraud detection.
The Clean-Code Camp counters that relying on too many apps creates app bloat: a compounding accumulation of external JavaScript files that each add load time, introduce potential conflicts, and degrade your Core Web Vitals scores. Every additional app script is a variable you do not control. When your page speed drops, your SEO rankings follow. Learn more about this balance in the Replo Blog on PDP Customization.
A hybrid approach is the most defensible:
Use native Liquid and CSS for all layout and presentation work: this has zero performance cost and is fully within your control.
Reserve third-party apps for complex, interactive features that would be prohibitively expensive to build in-house, such as a visual product configurator, a loyalty program, or a subscription engine.
When evaluating apps, prioritize those built with performance in mind. A well-engineered app like Kickflip, designed specifically for Shopify's infrastructure, adds interactive capability without the bloat associated with generic multi-platform tools.
This approach lets you own your presentation layer while still leveraging the ecosystem for genuinely complex workflows. For a deeper look at the trade-offs, the eCommerce product configuration guide breaks down when to build versus when to integrate.
4. Enhancing User Experience with Interactive Elements
4.1 The Power of Interactive Product Configurators
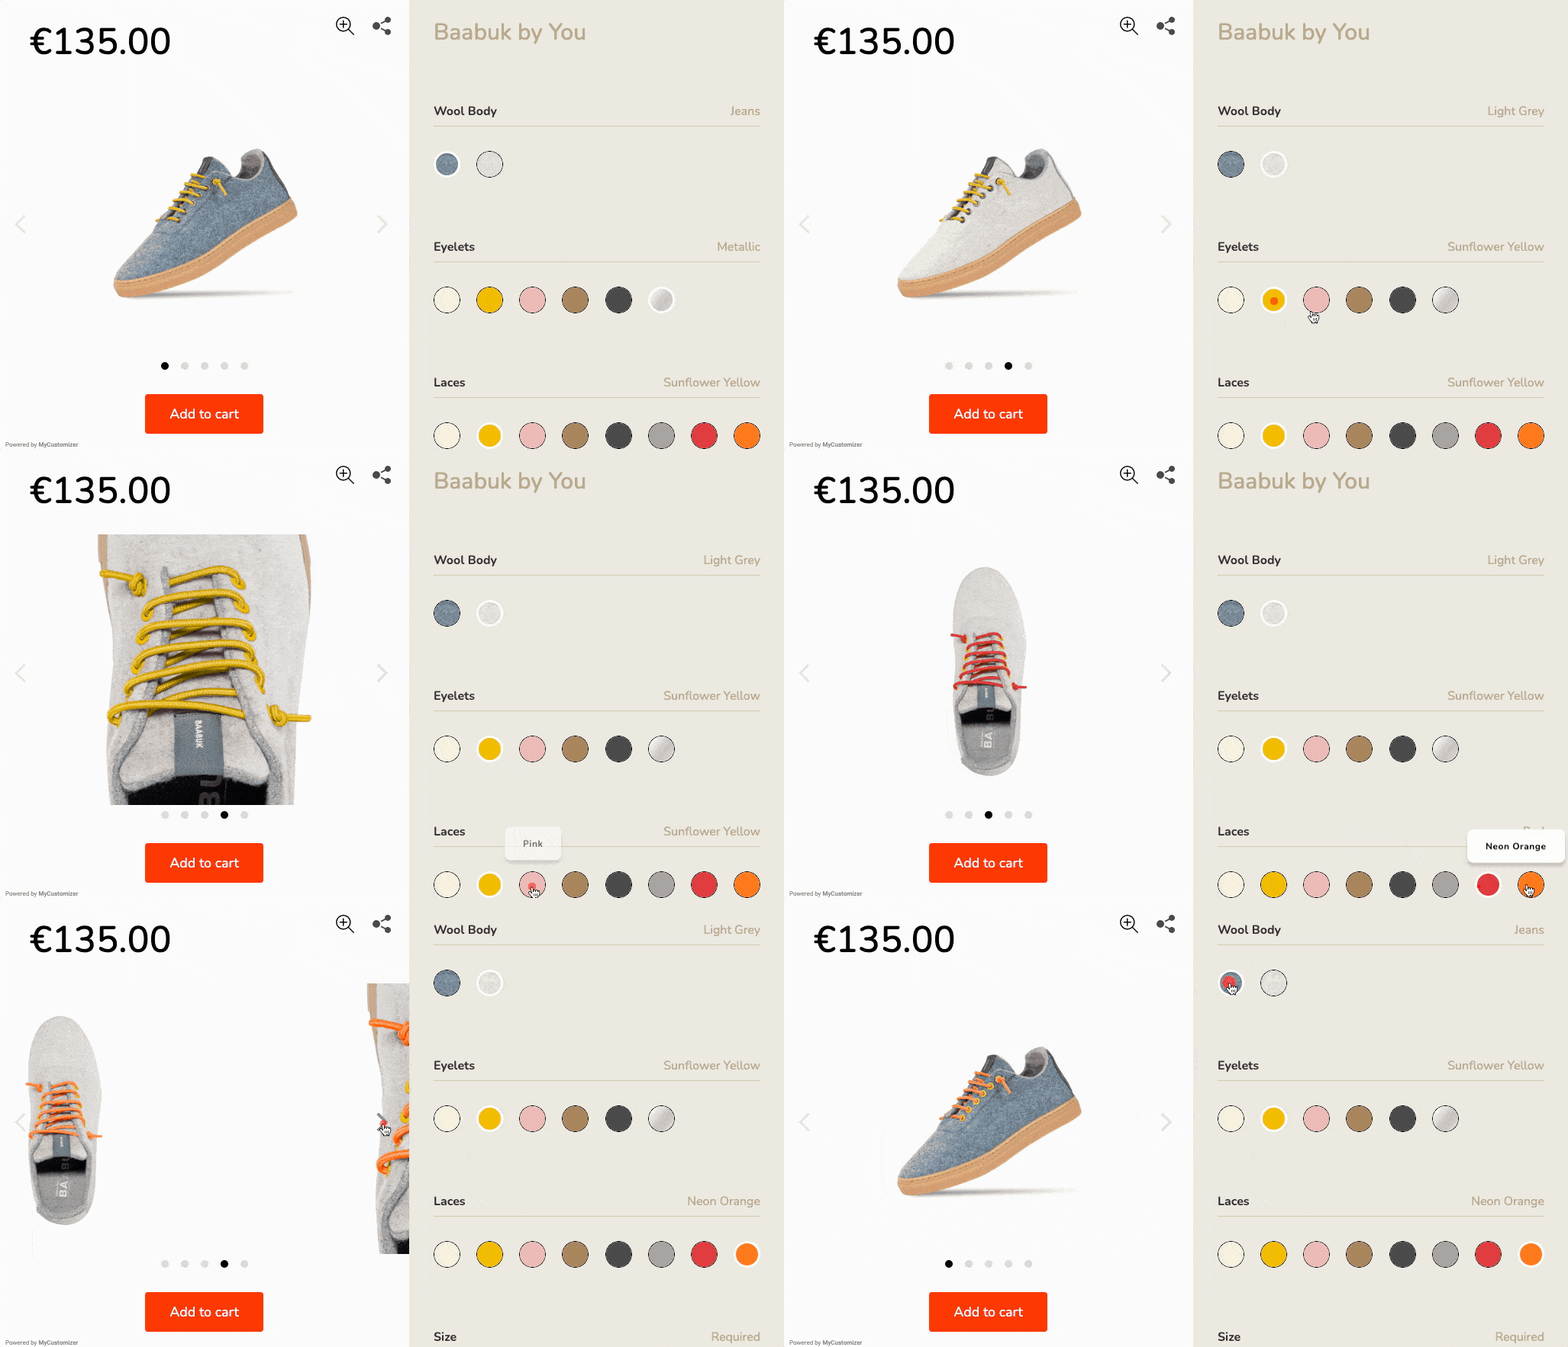
Static product pages have limits for brands selling customizable or personalized goods. You can optimize your layout, sharpen your copy, and perfect your imagery, but you're still asking customers to imagine the final product before buying. This hesitation kills conversions.
The impact of interactive product configurators is significant. Adding a visual product configurator can increase conversion rates by 40% to 60% over static, image-only pages. Shopify data indicates that merchants using 3D visuals see conversion rates increase by up to 94%. These results stem from reducing purchase uncertainty.
When customers see their exact choices—the color, the engraving, the components—rendered instantly, the gap between browsing and buying shrinks. The product becomes tangible, already theirs. This sense of mental ownership is a potent e-commerce conversion driver.
For brands offering custom product options and variants, such as configurable sporting goods, personalized jewelry, custom apparel, or modular furniture, a Shopify product configurator is essential, forming the heart of the product page experience.
4.2 Integration with Kickflip
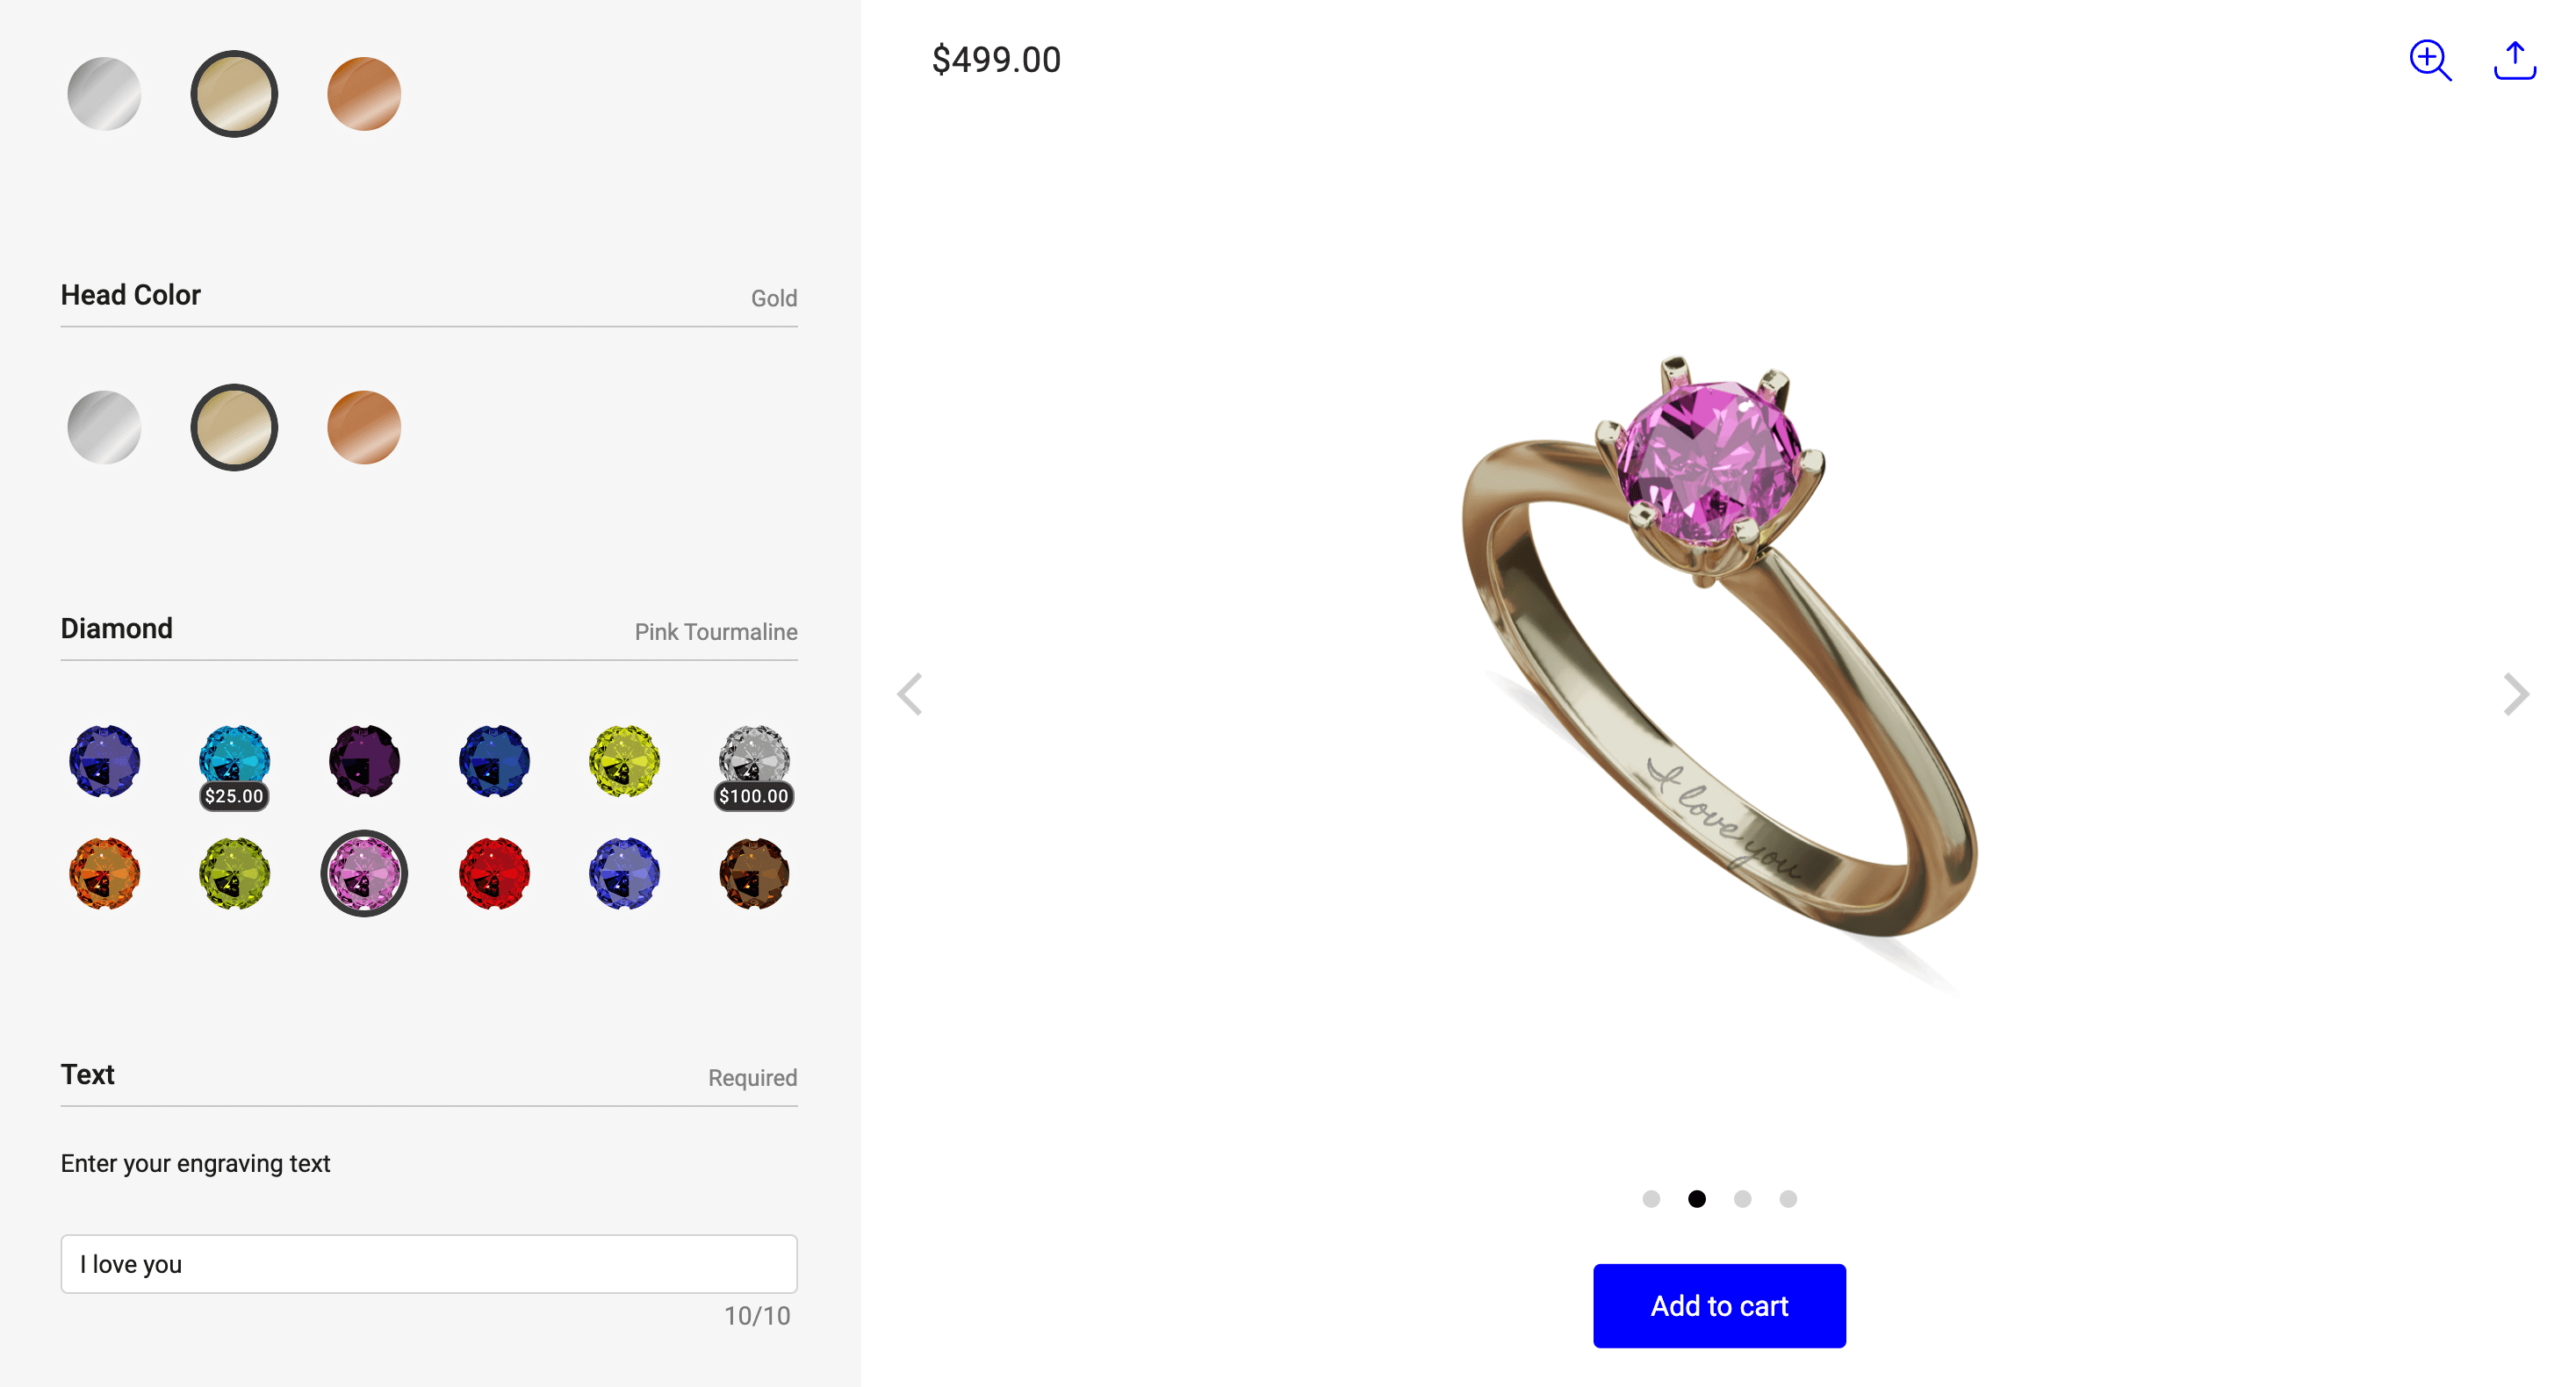
Building a visual product configurator from scratch is a significant engineering undertaking. Custom rendering engines, real-time pricing logic, conditional display rules, and production file generation can cost upwards of $100,000 to $300,000 in custom development, plus ongoing maintenance. For most DTC brands, that investment is neither practical nor necessary.
Kickflip is a dedicated Shopify product configurator built specifically for merchants who need to offer unlimited customization options without the overhead of custom development. It is used by brands ranging from fast-growing DTC companies to established names, across verticals including footwear, apparel, jewelry, sporting goods, and furniture.
Here is what Kickflip brings to your product page:
Real-time 2D visual previews. As customers select colors, materials, text engravings, or component swaps, the product image updates instantly. What they see is exactly what they will receive.
Dynamic pricing. As customers add premium materials or additional components, the price updates transparently in real time, directly on the PDP. This eliminates sticker shock at checkout and builds pricing trust.
Unlimited custom options and variants. Kickflip handles the complex conditional logic that Shopify's native variant system cannot: rules like "if the customer selects leather, hide the synthetic color options" or "if the frame size is XL, disable the compact handlebar option."
Automated production file generation. Upon checkout, Kickflip automatically generates print-ready, high-resolution production files that go directly to your manufacturing workflow. This bridges the gap between a polished front-end experience and an efficient back-end operation, eliminating the manual order processing errors that eat into margins on custom product businesses.
No-code setup. Your design team can build, update, and launch new product configurators independently: no developer required.
5. Best Practices for Shopify Product Page Design
5.1 Optimizing Layout Architecture (The F-Shaped Pattern)
Eye-tracking research consistently shows users scan web pages in an F-shaped pattern: a horizontal sweep across the top, a second sweep slightly lower, and then a vertical scan down the left. High-converting product pages are designed around this behavior, not against it.
The ideal PDP layout places the hero image gallery on the top-left and the "Buy Box" (product title, price, variant selectors, and primary CTA) on the top-right, both visible above the fold. This structure ensures the two most critical decision-making elements—visual proof and purchase mechanics—are encountered simultaneously in the first few seconds of the page visit.
Below the fold, the layout should follow a logical information hierarchy:
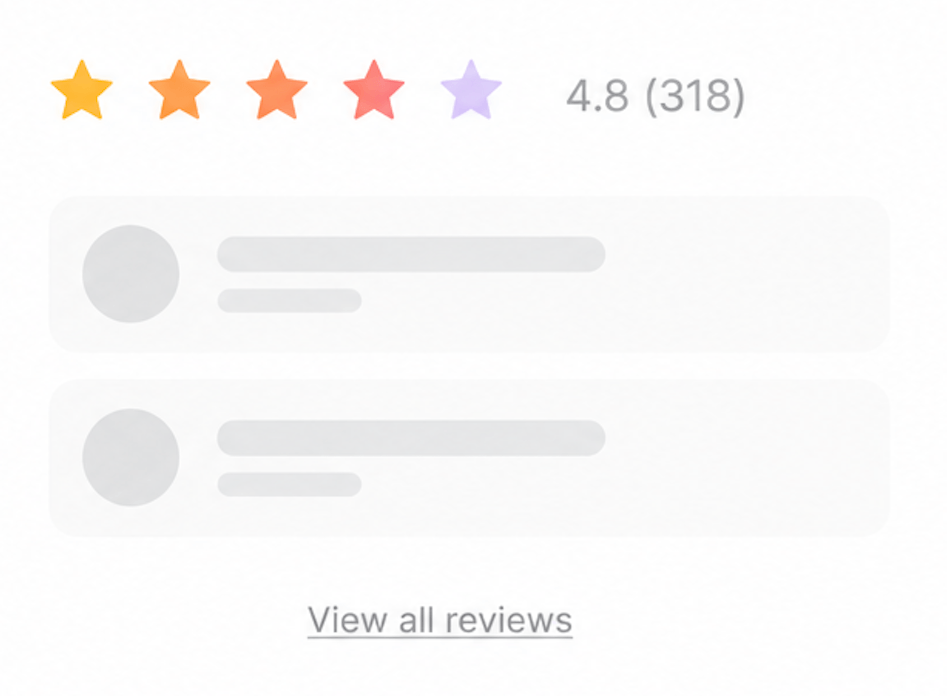
Social proof (star ratings, review count, and user-generated photos) immediately beneath the buy box to reinforce the purchase decision.
Key product benefits in a concise bullet format, not a wall of prose.
Collapsible accordion tabs for technical specifications, sizing charts, shipping policies, and care instructions, keeping the page visually clean while making detailed information accessible to customers who need it.
Trust badges (secure checkout, return policy, and warranty information) positioned near the CTA to address last-minute purchase hesitation.
Cross-sell and upsell modules at the bottom of the page, after the primary conversion content.
Understanding product page design best practices at this structural level, not just the cosmetic level, separates pages that convert at 6% from those that convert at 2%.
5.2 Designing High-Converting Call-to-Action (CTA) Buttons
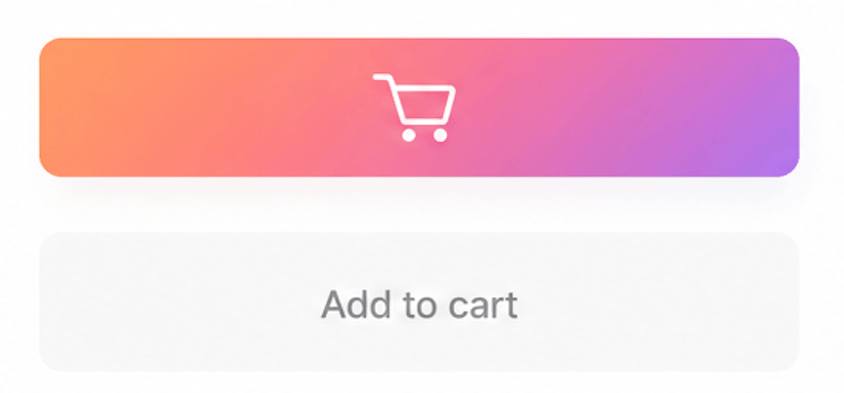 Your "Add to Cart" button is the single most important interactive element on the page. It deserves more design attention than almost anything else on your product detail page (PDP).
Visual contrast is the foundational principle. Your CTA button must stand out from the surrounding page elements: not just in color, but in size, weight, and spatial isolation. A button that blends into the background is a button that gets ignored. Use a color that does not appear elsewhere on the page for the CTA specifically, and ensure the contrast ratio meets WCAG 2.1 AA accessibility standards (minimum 4.5:1 for text).
Pricing transparency near the CTA is equally critical. Real-time price updates: especially for products with variant-based pricing or configurable options: must be visible immediately adjacent to the buy button. Customers who encounter an unexpected price change at checkout abandon at dramatically higher rates. Showing the final, accurate price on the PDP eliminates this friction point entirely.
For mobile users, implement a sticky "Add to Cart" button that remains fixed at the bottom of the screen as users scroll through long product descriptions, specifications, and reviews. Mobile conversion rates average just 1.8% compared to 3.9% on desktop: a gap that is largely attributable to the friction of scrolling back up to find the buy button after reading the full page. A sticky CTA eliminates that friction entirely.
Button copy also matters more than most merchants realize. "Add to Cart" is clear and functional. "Customize Yours" or "Build Your Own" creates a sense of ownership and agency that is particularly powerful for configurable products. Test your button copy alongside your visual design changes.
5.3 Mobile-First Optimization and Accessibility
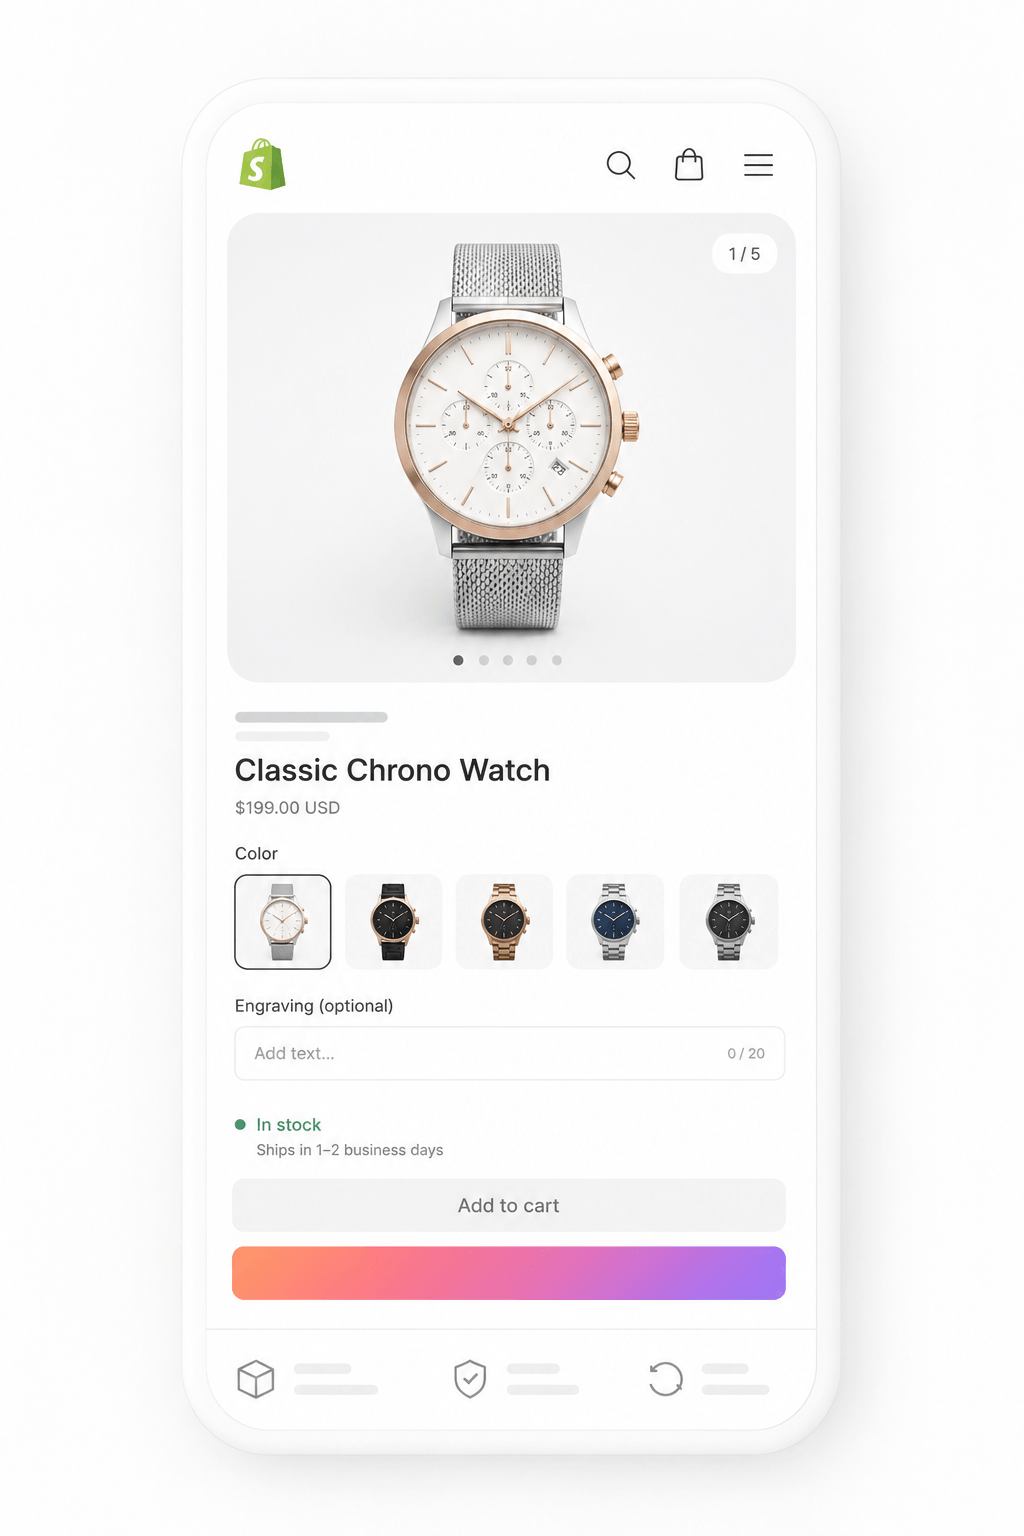
Over 70% of retail e-commerce traffic originates on mobile devices. Desktop conversion rates average 3.9%; mobile averages 1.8%. That gap is not primarily a product problem or a pricing problem: it is a design problem. Mobile users are navigating your product page with a thumb, on a small screen, often in a distracted environment. Your layout must accommodate that reality from the ground up.
Mobile-first design requirements for the PDP:
Touch-friendly target sizes. All interactive elements: buttons, variant selectors, color swatches, and accordion tabs: must meet a minimum tap target size of 48x48 pixels to prevent accidental clicks and reduce user frustration.
Swipeable image galleries. Mobile users expect to swipe through product images, not tap small arrows. Ensure your gallery supports navigation gestures and displays a clear indicator of how many images are available.
Collapsible accordion tabs. Long product descriptions and technical specifications should be hidden behind expandable accordions on mobile, keeping the primary conversion content (image, price, and CTA) dominant on the initial screen.
Optimized image loading. Use modern image formats (WebP) and ensure your theme implements lazy loading for off-screen images. A single unoptimized hero image can add 2 to 3 seconds to your mobile load time, which translates directly to higher bounce rates.
Accessibility compliance is a legal and ethical requirement. In the United States, the ADA applies to e-commerce websites. In Europe, the European Accessibility Act is now in force. At minimum, your product page must meet WCAG 2.1 AA standards:
All variant selectors and interactive configurators must be fully keyboard-navigable.
All images must have descriptive alt text.
Color alone must not be the only means of conveying information (e.g., a selected swatch must also show a visible border or checkmark).
All form inputs: including custom text fields and file upload buttons: must have properly associated labels for screen reader compatibility.
6. Conclusion and Next Steps
Shopify product page customization exists on a spectrum of methods, each suited to a different level of technical resource and product complexity.
No-code (Theme Editor and Metafields): The starting point for every merchant. Rearrange blocks, connect dynamic data sources, and build product-specific layouts without writing a single line of code. This offers a quick setup time for merchants with straightforward catalogs.
Low-code (Custom Liquid and CSS): For merchants who need dynamic logic, conditional messaging, or precise visual control without committing to full theme development. This preserves theme upgradeability and requires minimal technical knowledge.
Interactive apps (Kickflip and similar): The right choice for brands whose products require real-time visual configuration, complex conditional option logic, or automated production file generation. This is where you can offer 200+ customization options to increase order value and build a premium experience for customers.
The best approach is rarely one of these in isolation. Most high-performing Shopify stores use the Theme Editor for layout, Custom Liquid for dynamic logic, and a targeted app for their most complex interactive feature. That layered approach gives you maximum control, minimum performance cost, and a product page experience that genuinely differentiates your brand.
Actionable Roadmap for Merchants
The path from a generic default template to a high-converting, brand-differentiated product page does not require a six-month development project. I'll show you exactly how to do this in a few clear steps.
Start here:
Audit your current PDP performance. Pull your product page conversion rate, bounce rate, and average time-on-page from Google Analytics or Shopify Analytics. Identify which products have the highest traffic but the lowest conversion: these are your highest-leverage optimization targets.
Fix the layout fundamentals. Open the Theme Editor and restructure your blocks to match the F-pattern layout: hero image top-left, buy box top-right, social proof immediately below. This alone can move your conversion rate measurably.
Implement metafields for your top products. Identify the unique information each of your top-performing products needs to communicate (sizing, materials, care instructions) and surface it cleanly using metafields and collapsible accordion blocks.
Evaluate your customization needs. If you sell products with personalization options, assess whether your current variant dropdowns are doing justice to the buying experience. If they are not: if customers cannot visualize what they are building: explore integrating a Shopify product configurator to close that gap.
Optimize for mobile. Test your PDP on three different mobile devices. Check tap target sizes, image loading speed, and the visibility of your CTA above the fold. Fix what is broken before investing in anything else.
Your product page is not a static brochure. It is a dynamic, interactive selling environment that should evolve as your understanding of your customers deepens. Merchants who treat it that way: who audit, iterate, and invest in the experience: are the ones building brands that compound over time.
Frequently Asked Questions
Q1: How do I customize individual product pages on Shopify?
To customize individual product pages, navigate to your Shopify Theme Editor, select the Products dropdown at the top of the editor, and click "Create template." This allows you to design a unique layout for specific products or product categories. Once created, you can assign this template to individual products inside your Shopify Admin by opening the product details page and selecting the template from the "Theme template" dropdown in the right-hand sidebar. This approach lets you maintain a clean default template for most products while giving your hero or custom products a fully tailored presentation.
Q2: Will adding custom code or apps slow down my Shopify product page?
It depends entirely on how they are implemented. Native CSS and Liquid code have virtually zero impact on page speed: they are processed server-side and add no external HTTP requests. Adding multiple third-party apps, however, can introduce external JavaScript bundles that increase your page weight and degrade Core Web Vitals scores. To protect your site performance, use native Shopify features: metafields, metaobjects, and Custom Liquid: for all layout and presentation work. Reserve apps for genuinely complex interactive features, and when you do use apps, choose performance-optimized solutions like Kickflip that are built specifically for Shopify's infrastructure rather than generic multi-platform tools.
Q3: Do I need to know how to code to customize my Shopify product page?
No. Shopify's Online Store 2.0 Theme Editor allows you to customize layouts, reorder blocks, and display dynamic content using Metafields and Metaobjects entirely without writing code. For the vast majority of customization needs: layout restructuring, dynamic content display, collapsible tabs, and trust badge placement: the Theme Editor is sufficient. For advanced interactive features like visual product builders, no-code apps like Kickflip handle the complexity on your behalf. Coding skills become relevant only when you need highly specific conditional logic or bespoke layout structures that fall outside what the Theme Editor and available apps can provide.
Future reading
The Best Product Customizers for Shopify
10 Best Shopify Product Customizer Apps in 2026
Best Shopify Themes for Custom Products: Expert Guide for 2026
Share This article

Written by Marie Lamonde
July 15th, 2026
Marie Lamonde is a Content Marketing Manager at Kickflip with 8 years of experience writing about digital marketing, SaaS, and ecommerce. She specializes in creating clear, search-driven content that attracts, engages, and converts.


Maarten Luyckx
Osaka World
The user-friendly interface of Kickflip, combined with excellent customer service, ensured that this project was brought to a successful and beautiful conclusion.
Shopify App Store
May 20, 2021

Marie-Laetitia Rossazza
My Dust Bag
It took me a long time to find the perfect customizer app, and I’m so happy to say that I finally did! Kickflip is truly the best app on the market. The front end and back end are excellent, and the team behind it is incredibly kind and helpful!
Shopify App Store
September 1, 2023

Brad Jurga
All-Star Sporting Goods
Kickflip made everything easy, from designing the builder all the way through launch. We’re designing truly custom equipment for elite baseball players and this platform allows us to have better engagement and excitement around our brand. We’re seeing an instant return.
Shopify App Store
June 16, 2025

Kasper Taylor
CodedInk
My experience with both the product and the support team has been fantastic. The user interface and user experience are excellent. The features are powerful, and the WooCommerce integration is seamless and easy to set up.
G2.com
June 16, 2025

Saber Naceur
Vinylacy
By far, and I truly mean it, the best customizer available on Shopify. It’s easy to understand and manage, offers options for all types of products, and works extremely well. On top of that, it looks beautiful and feels premium. Highly recommended.
Shopify App Store
December 17, 2022

Jesus Guillermo de León Pérez
Dismo
Kickflip is a fantastic tool. It’s super intuitive, easy to use, and packed with capabilities. You don’t have to be an expert or have experience with other products to get started. The support team is also great and very responsive.
Shopify App Store
July 10, 2024

Frieder Urban
Era of Arc
We were looking for an uncomplicated configurator that was quick and easy to set up, offered plenty of design options, and worked reliably with fast loading times. We tested many configurators on the market, and with Kickflip, we found exactly what we needed.
Shopify App Store
October 10, 2024

John Taggart
Jack Harry and Ollie
What a great addition to our business Kickflip has been. It’s been fantastic to offer our customers the ability to personalize their orders. The support has been excellent, and we especially love that the pricing is tied to our success as customers make purchases.
Shopify App Store
May 7, 2021

TJ Garske
The Net Return
Kickflip saves our team a ton of time by eliminating the need to create custom mockups for customers. Customers can build their product themselves and place an order instantly, without any back-and-forth.
G2.com
January 26, 2026

Amin Hasani
CURVD
After extensive research into product customizer tools, we chose Kickflip for many reasons. We don’t like complicating simple tasks for customers, and Kickflip helped us simplify the process and create a seamless customer experience.
Shopify App Store
July 29, 2025